Posts

Showing posts with the label Photoshop Tutorial

Selective Color with Photoshop

Image
In this Photoshop tutorial, we'll learn an easy way to create a popular selective coloring effect, converting a photo to black and white while leaving the main subject in full color. If that sounds complicated or time consuming, it's not. In fact, as we'll see, the entire effect can be created in just a few short steps using nothing more than a selection tool, an adjustment layer and a layer mask! To create the effect, we'll be using a Black & White image adjustment. Here's the image I'll be using for this tutorial: Step 1: Select the main subject in the photo (Lasso Tool, Quick Selection Tool, Pen Tool, etc), in this tutorial, i selected the phone booth and bus, draw a selection outline around the main subject of your photo.  When you're done, you should see a selection outline (the marching ants) around your subject. Step 2: We now have selected the main subjects, and we want the background to be black and white. What we have to do now is ...

Girl in Red Double Exposure

Image
In this tutorial we’ll create a trendy double exposure effect in Adobe Photoshop with the help of Blending Modes and Clipping Masks in a few steps. You can download and use the images here  woman https://www.pexels.com/photo/woman-girl-hairs-portrait-69494/ sunset https://www.pexels.com/photo/sunset-147465/ city https://www.pexels.com/photo/city-lights-during-night-time-25926/ STEP 1 Open the woman image in photoshop, lets make it black and white. In this tutorial, i used the threshold method. Go to  Image > Adjustment > Threshold. Adjust the value to 111 (you can play on the value). STEP 2 Next, let's open the second image (city), drag and drop it on top of the woman layer. Adjust the size until it fit the body part, change the layer mode to "SCREEN" mode, right click mouse then choose create "CLIPPING MASK". Now you will see the city layer image is now overlaying on woman body. STEP 3 Next, open the third image (sunset), drag...

The Color Lookup Adjustment Layer

Image
The  Color Lookup Adjustment Layer  lets you pull up different  Color   Variations  such as Horror Blue, and Candlight. While this isn’t the best  Tool  for doing fine  Color -tuning, it’s great for creating multiple versions of the same image in seconds.  watch video here The Color Lookup Adjustment Layer If you liked this video article, then please subscribe to our YouTube Channel for our video tutorials. You can also find us on Twitter and Facebook. Website :  www.asterali.com  Subscribe to my  Youtube channel  FB:  https://www.facebook.com/asteralicreativestudio/  Twitter:  https://twitter.com/asterali

Let's Play with Colors in Photoshop

Image
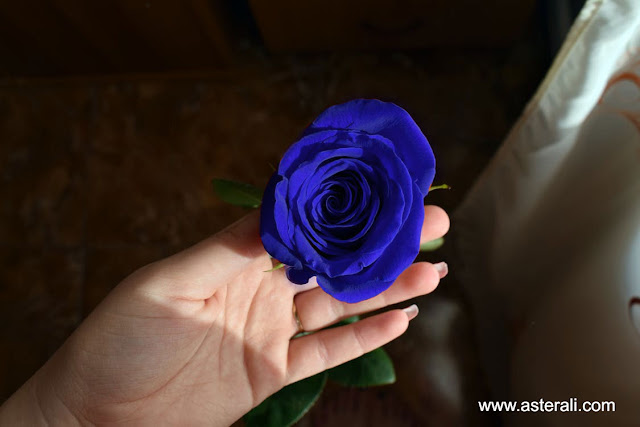
Playing colors with Photoshop is fun fun fun....i'll change the color of this flower from 1 color to multi color. Check out my fun video . to  Let's Play with Colors in Photoshop If you liked this video article, then please subscribe to our YouTube Channel for our video tutorials. You can also find us on Twitter and Facebook. Website :  www.asterali.com  Subscribe to my  Youtube channel  FB:  https://www.facebook.com/asteralicreativestudio/  Twitter:  https://twitter.com/asterali

Photoshop Tutorial Double Exposure

Image
Photoshop Tutorial Double Exposure Video Tutorial  Photoshop Tutorial Double Exposure Video Tutorial  If you liked this article, then please subscribe to our YouTube Channel for our video tutorials. You can also find us on Twitter and Facebook. Website : www.asterali.com  Subscribe to my Youtube channel  FB: https://www.facebook.com/asteralicreativestudio/  Twitter: https://twitter.com/asterali

How to Colorize in Photoshop

Image
"Click here to watch video tutorial" Learn how to use Colorize to change the color of any object in Photoshop! Create a Selection of the Area You Want to Colorize In order to colorize a specific area of a photo, first you will need to create a selection around that area. In this example, we use “Select-Color Range’ to select out the red rose. Hue/Saturation + Colorize Once the  rose is selected, click on the ‘Colorize’ Button in the Hue/Saturation Adjustment Layer Properties window. When Colorizing an image, you have control over Hue, Saturation, and Lightness. You can use the combination of these three sliders to make any color. In this tutorial, we use Hue/Saturation Adjustment Layers to Colorize rose petals. If you liked this article, then please subscribe to our YouTube Channel for our video tutorials. You can also find us on Twitter and Facebook. Website :  www.asterali.com  Subscribe to my  Youtube channel  FB:  https://www.facebo...

Photoshop :: Adding Borders to Images

Image
Putting a border to a digital image will make your finish print look complete. I'll show you a quick easy way to do that. Please watch the video Photoshop :: Adding Borders to Images website :  www.asterali.com subscribe to my  youtube channel 

Photoshop : How to Put Image In Text

Image
A tutorial showing how you can put image inside text using clipping mask tool. I hope you learn something from this video. Photoshop : How to Put Image In Text website :  www.asterali.com subscribe to my  youtube channel 

Photoshop Tutorials Edit a Memorable BG Same Picture Style

Image
Photoshop Tutorials Edit a Memorable BG Same Picture Style website :  www.asterali.com subscribe to my  youtube channel  Astera Li Creative Studio created another Photoshop tutorial teaching you on how to make a memorable picture. This type of photo editing have a light background with the colorful stroke image.  For their easiness, I have shared this knowledge in this single tutorial for you. Watch the video tutorial below. Photoshop Tutorials Edit a Memorable BG Same Picture Style website :  www.asterali.com subscribe to my  youtube channel 

Engraved Metal Text Style Photoshop Tutorial

Image
Text effect by Astera Li Creative Studio website : www.asterali.com subscribe to my youtube channel  Add style to your text to create completely custom designs. Simply load the Photoshop, then apply the style to the Photoshop layer you are working with. Refine the style to your taste by adjusting the effects. STEP 1 Download the image below and open with Photoshop source: www.pexels.com STEP 2  Add a text, in my sample i typed the word METAL STEP 3  Right click on the text layer, and click "Blending Options" STEP 4  Set fill opacity to 0 STEP 5  Set bevel & emboss STEP 6 Set inner shadow STEP 7 Set color overlay STEP 8 Set outer glow STEP 9 Set drop shadow DONE Watch video  Text effect by Astera Li Creative Studio website :  www.asterali.com subscribe to my  youtube channel