Selective Color with Photoshop
In this Photoshop tutorial, we'll learn an easy way to create a popular selective coloring effect, converting a photo to black and white while leaving the main subject in full color. If that sounds complicated or time consuming, it's not. In fact, as we'll see, the entire effect can be created in just a few short steps using nothing more than a selection tool, an adjustment layer and a layer mask!
To create the effect, we'll be using a Black & White image adjustment.
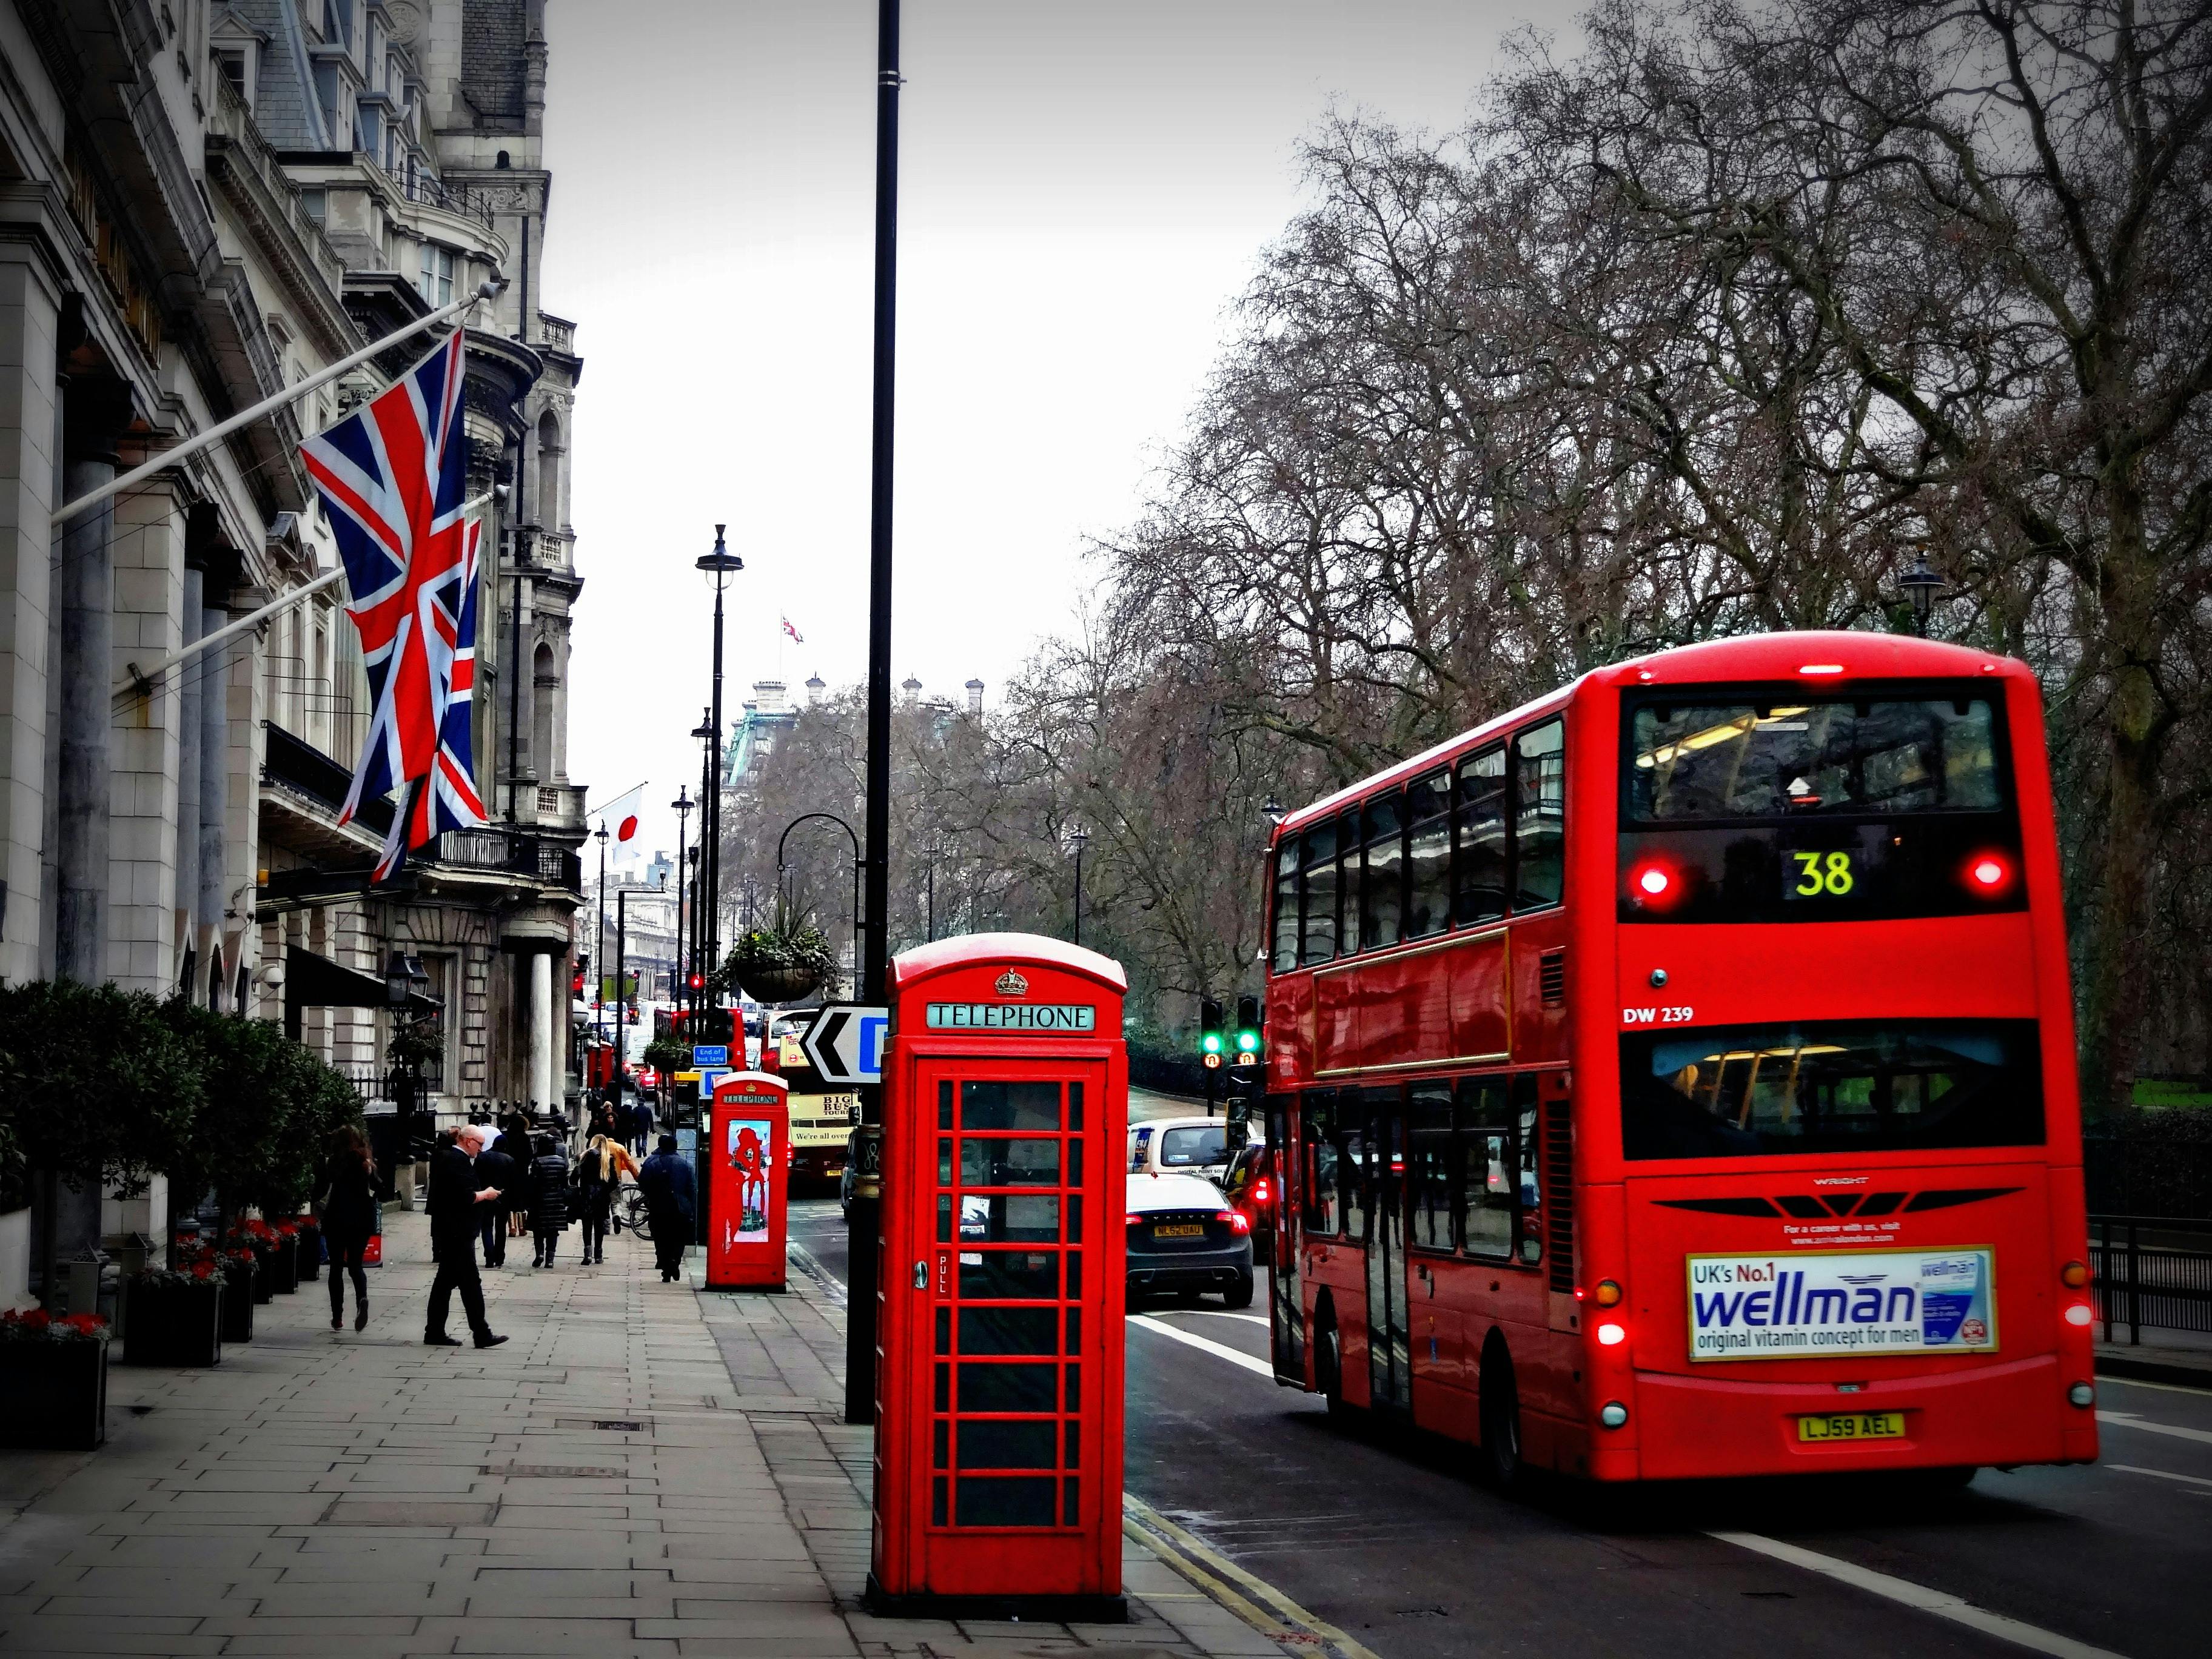
Here's the image I'll be using for this tutorial:
Step 1:
Select the main subject in the photo (Lasso Tool, Quick Selection Tool, Pen Tool, etc), in this tutorial, i selected the phone booth and bus, draw a selection outline around the main subject of your photo. When you're done, you should see a selection outline (the marching ants) around your subject.
Step 2:
We now have selected the main subjects, and we want the background to be black and white. What we have to do now is to invert our selection. Right click your mouse, then select invert selection. Or, for a faster way to invert a selection, just press Shift+Ctrl+I (Win) / Shift+Command+I (Mac) on your keyboard
Step 3:
Click on the New Adjustment Layer icon at the bottom of the Layers panel and choose black and white.

And we are done!

Photoshop adds the Black & White adjustment layer, and instantly, we have our selective color effect! The photo is converted to black and white except for the main subjects we selected.
Did you get it? You can also watch my video in my Youtube Channel.
If you liked this video, then please subscribe to our YouTube Channel. You can also find us on Twitter and Facebook.
Website : www.asterali.com
FB: https://www.facebook.com/asteralicreativestudio/
Twitter: https://twitter.com/asterali


Comments
Post a Comment